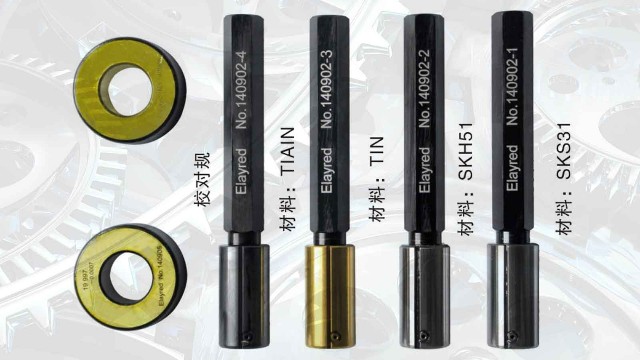
Because the plug gauge eats a part of the tolerance required by the product, the product is compressed into the middle difference of the required size of the product diagram during processing, and the processing requirements are correspondingly increased.

So, in the case that the plug gauge can not meet the needs of detection, how should the new detection means be selected? In view of the above drawbacks, the next edition will sort out several schemes for your reference.
As a precision parts size pneumatic measurement equipment manufacturer, we have19+Years design experience engineer, can provide a variety of measurement solutions. The pneumatic probe produced by the use of German imported steel, to ensure the real material, after the original salt bath heat treatment, high temperature1500°Quench, wear proof, liquid nitrogen-180°Deep cooling to remove internal stress, prevent deformation, manual grinding, ensure micron accuracy.
Model:E-MA4; Measuring range:±25μm,±50μm; Resolution:0.1/0.2/0.5/1.0; Total error:2%; Number of channels:Single; Measuring function:MXMNMNIAN-AMIN2

Model:E-MC5; Measuring range:±25μm,±50μm; Resolution:0.1/0.2/0.5/1.0; Total error:≤0.3μm; Number of channels:Single; Measuring function:MXMNMNIAN-AMIN2

Display screen:7Inch; A/E:EA-2; Accuracy:≤0.3μm Resolution:0.1/0.2/0.5/1.0 Unit:μm/mm/inch